

MIS Integration
MIS integration allows you to easily update your users on the School Jotter system. We use Groupcall XoD to help facilitate the Integration and currently we work with SIMS, Arbor, Scholarpack, Integris and Bromcom. We are adding support for more MIS solutions, so if your MIS isn't listed please let us know.
If you would like to use this and it isn't currently enabled please contact your Account manager.
When this is setup for the first time Webanywhere support will add Settings and do the initial sync of users into your system. A CSV will then be provided for your use.
To start using MIS integration Open the Admin app
Click on MIS Integration in the left hand menu.
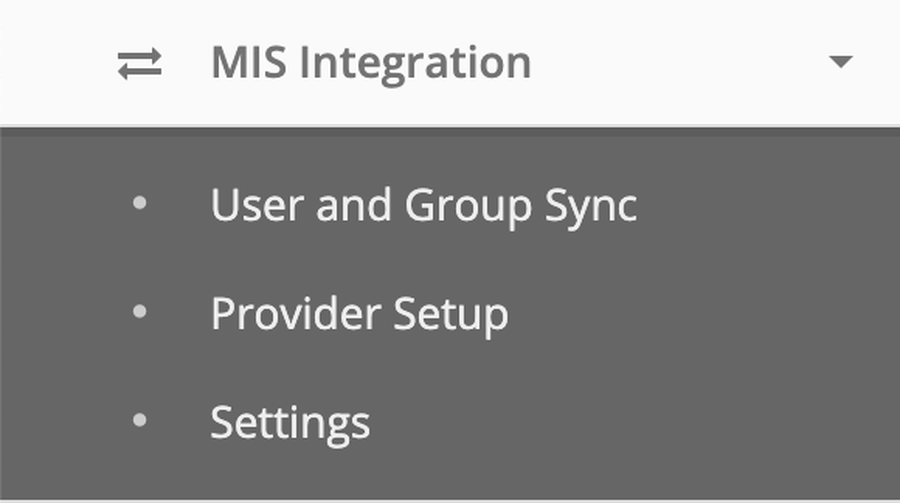
The menu gives three options
- User and Group Sync - This is where you add users and groups to the system
- Provider Setup - This is used by support to check your Integration
- Settings - This where you can change the Username format and Password complexity rules.
To add users in to the Jotter system please choose User and Group Sync
This opens the page where you can add all of your Users
On this screen, you can see the following information;
- Matched - How many MIS records are currently in your system
- Ignored - How many MIS records are being ignored, used when the MIS includes records that do not need to be matched.
- Not Matched - The records that have yet to be processed
- Last Sync - The last time that this sync was used
- Status - This allows you to see at a glance if a sync needs to be run
- Sync - Used for running the Syncs
- Re-Sync - Used for refreshing data when all records are in the system
Click Sync on right hand side, this will load the matching screen where you can choose what to do with the record.
When you load the screen you will see a list of students that haven't been added to the system. Next to each record is a drop down box, with actions that can be taken. You can
- Create New User - Adds the record to the system
- Ignore User - Adds record to the ignore list
- Match with local user - Matches with an existing user
- Match with local user with other role - Matches with an existing user whose role differs.
Any new users will have the Dropdown box set to Create New User. Some rows will be highlighted, this is where a similar name has been found in the system and your attention is required. In this case the highlighted row is because a user with a similar name already exists. With these records you can choose to either Merge the record, or Create New user. The system automatically matches the records so make sure you check all highlighted rows.
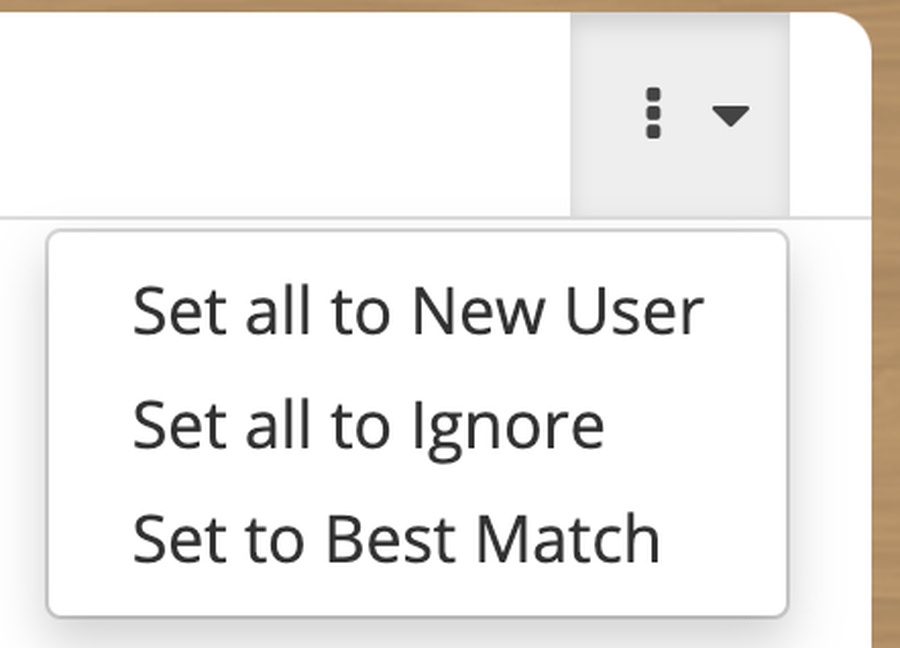
You have bulk options in the top right corner, you can use these to quickly set all rows to the same value.
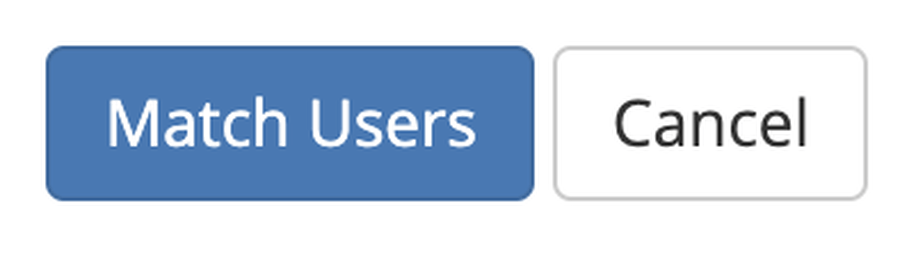
Once you have finished going through the records, click Match Users at the bottom of the page.
If there are any errors, these will display now. Correct any errors reported.
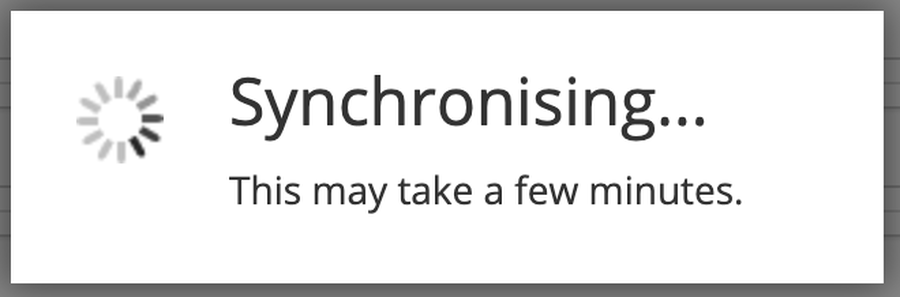
The page will then start syncing the users, this may take a few minutes.
Once the is sync successful, you will be returned to the Sync Users and Groups page. A green bar will be shown at the top of the page, with a download link. You must click this link to download the usernames and passwords of the new users if needed. This is the only time you can get this document.

This process can be followed for Parents, Teachers and Staff.
If there are any new Groups then the process of adding them is the same but there is no download at the end. Groups can be matched to any group that is not currently linked to the MIS.
You may see some Data sections say Unmet Dependencies these are waiting on the completion of other syncs. As you work down the list these will change to Out of Date.
Once the process is complete all rows will say Up to Date.
If you have any further questions please contact the Helpdesk