

How to use the text option
This help sheet explains adding and editing text on your learning site as well as adding images and links into a text box
Text Toolbar Explained
|
|
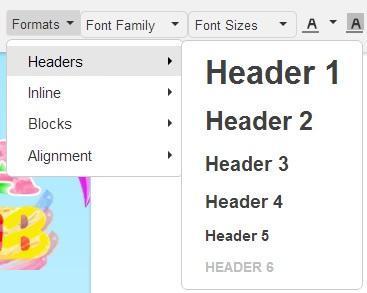
The formats option allows you to format your text, just like in a word processor |
|
|
You have a range of fonts to choose from |
|
|
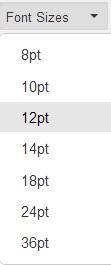
You can select different font sizes |
|
|
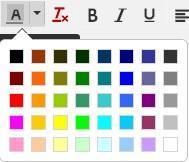
There is a good range of font colours to choose from |
|
|
There is a good range of background colours to choose from |
|
|
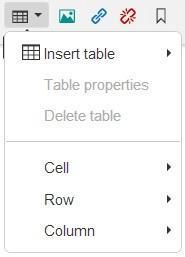
You can insert and format tables just like in a word processor |


|
|
|
Cancel Bold, Italic & Underline Line justification Bullets & Numbering Increase & Formatting Decrease Indents |
|
|
|
Add Add Remove Place an View Image Link Link Anchor Source Code |


1. To add text you must first be in edit mode. Click the Edit Page button on the page that you want to work on.

2. Then click on Insert Item button and then select the Text option.

3. Next, decide where you want to place the text by clicking on one of the boxes that says Insert text here.

4. Type in your text.
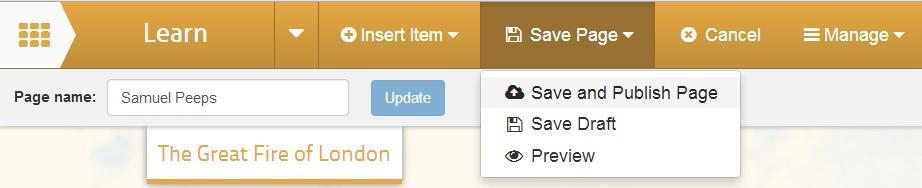
5. Click on the Save button and then select Save and Publish Page.
Adding Links to Text
You can add hyperlinks to text to an external website, another page on your learning site and to open a document or presentation.
Link to an External Website
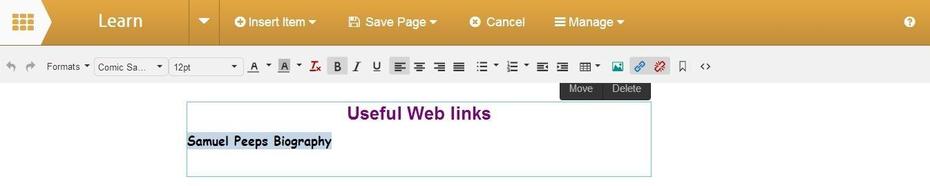
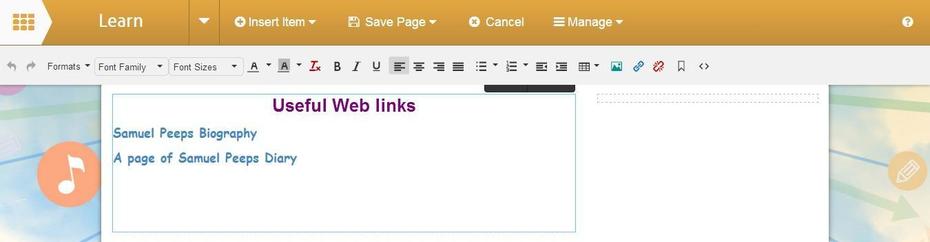
1. Type the required text, then highlight the text you wish to be the link and then click the blue Link button.

2. The words Samuel Peeps Biography has been added to the Text to display box as they were highlighted when the Link button was clicked. Decide if you want the website to be opened in a new browser tab by selecting New window in the Target box.
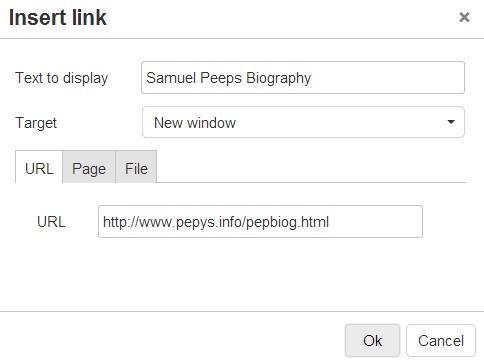
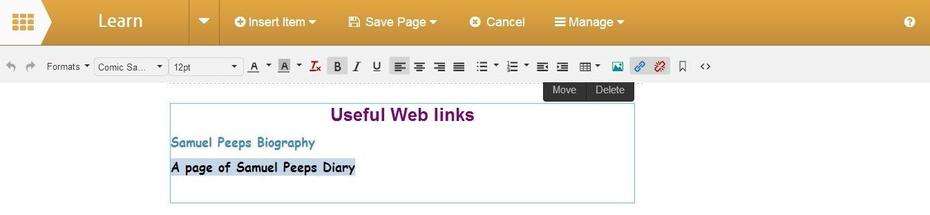
Select open in new window. Add the web address of the required website in the URL box. Then click the OK button. The text highlighted will now appear as a hyperlink.
Link to Another Page on the Learning Site
1. Type the required text, then highlight the text you wish to be the link and then click the blue Link button.

2. The words back to home page has been added to the Text to display box as they were highlighted when the Link button was clicked. As the link is to another page on your school website you can leave the None setting in the Target box.

3. Click on the Page tab and select from the drop down menu the page of your learning site that you want the link to take you to. Click on the OK button.
Link to a File
1. Type the required text, then highlight the text you wish to be the link and then click the Link button.
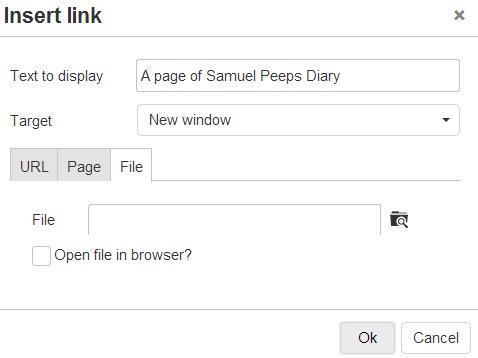
2. In the Text to display box as the text that was highlighted when the Link button was clicked can be seen. If you are allowing the file to be opened in the internet browser change the Target field to New window. Click on the File tab and then click the Browse button on the right of the file field.
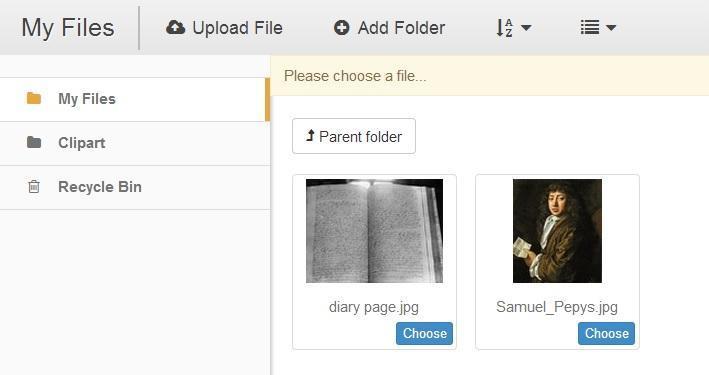
3. This will open up the Files area which will allow you to navigate to or upload the required image and then select it by clicking on the Choose button. (See steps 4 to 8 for help on uploads or go to step 9).

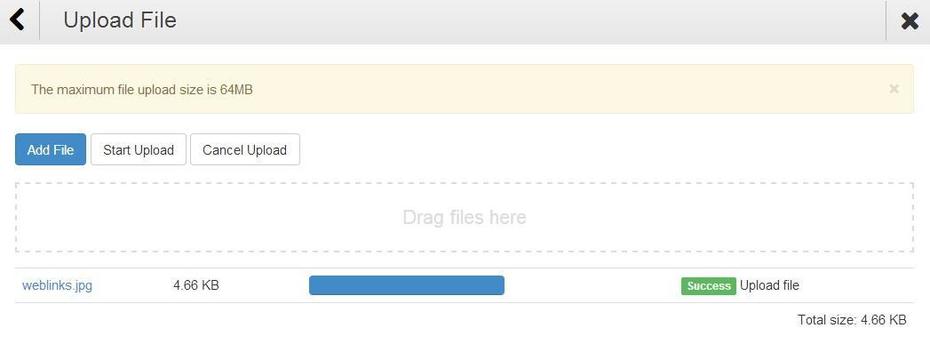
4. To upload a document click on the blue Upload File button that will open the Upload screen.

5. To upload a file or files click on the Add File button.

6. This will open a separate window. It will allow you to browse your desktop/pen drive and select the images you want to upload onto your website.
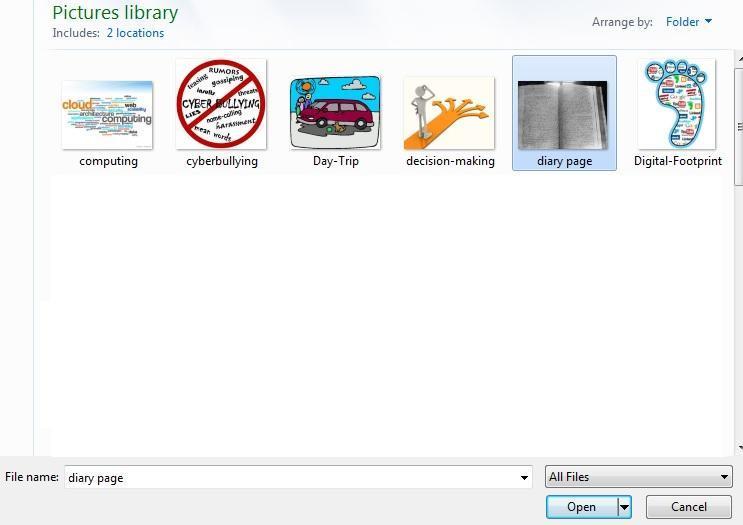
7. When you have selected the file click Open in the window. This will bring you back to the Upload screen where you will see the image that has been selected. Click on the Start Upload button. On upload completion click on the Back button. This will take you back to the My Files screen.

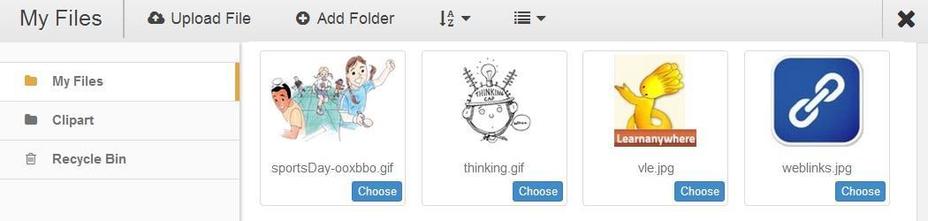
8. Then click the blue Choose button on the right hand side to insert the required image onto the page.
9. Once your file is selected, decide if you want the file to be opened in a new browser tab (select New window in the Target box and put a tick in the Open file in browser? box) or download to the computer (leave Target and None and the Open file in browser? box empty), then click the OK button.

Insert an Image through the Text Option
1. To add an image click on the Insert/Edit Image icon, it shows a green landscape image as highlighted below.
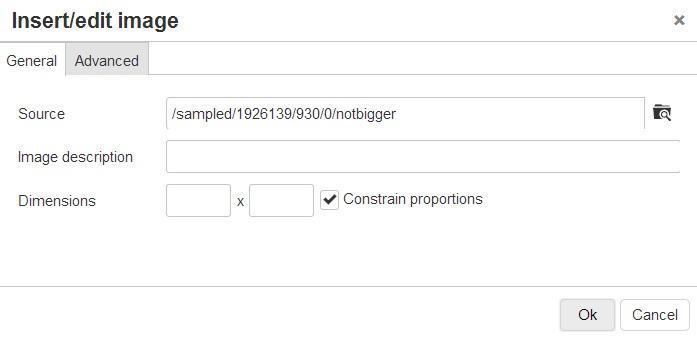
2. The Insert/Edit Image window will open. To browse your files area to find the image you wish to insert into your text box, click on the browse icon on the right of the Source field.

3. This will open up the My Files area which will allow you to navigate to or upload the required images. (See steps 4 to 8 for help on uploads or go to step 9.) To upload a picture click on the blue Upload File button that will open the Upload screen.

4. Click on the Add File button.

5. This will open Windows Explorer on your computer, locate the photograph that you want to upload. Click on the Open button.
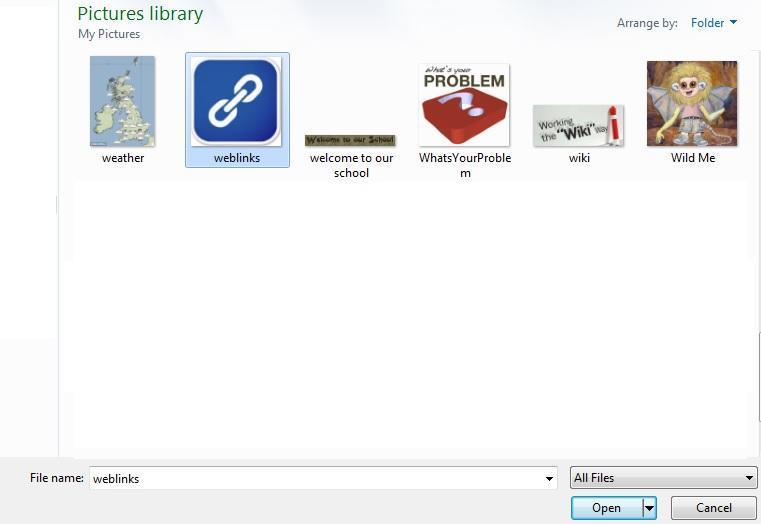
6. This will bring you back to the Upload screen where you will see the images that have been selected. Click on the Start Upload button.
7. On upload completion click on the Back button at the top left of the open window. This will take you back to the folder with where you can select your photograph.
8. Then click Choose button on the required photograph.
9. The Source name will appear in the field. If you enter an Image description it will appear when the mouse cursor is placed over the image. You can set the required dimensions if you have uploaded a large image.
10. Click on the OK button to add the image to your webpage.
11. To change the size of your photograph click on it to highlight it and the click and drag one of the corner handles, so that you keep perspective.

Remember to save any changes click on the Save button and then select Save and Publish Page, then you can click on your link to check that it works.
