

Adding a Blog Post
1. Click on the title of the blog and then the Add Post button on the orange toolbar at the top of the screen or the Add Post button on the row of the blog. Give your post a title and then add your blog post in the Content field. Basic text processing tool icons appear at the top of the box.
2. You can insert an image into your blog post. Place your cursor where you want the image to appear and click on the Insert/Edit Image icon on the text processing toolbar.

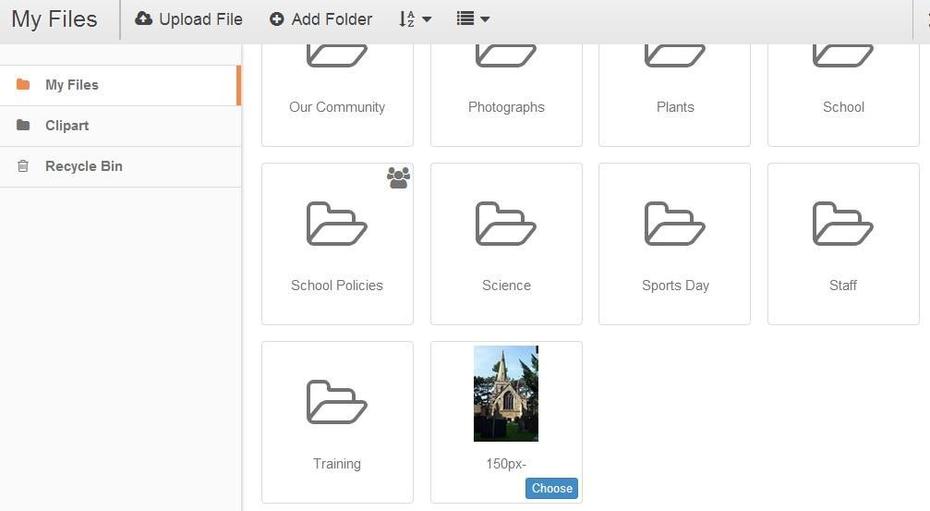
3. The Insert/Edit Image window will now open. Click on the browse icon on the right of the Source field to open your files app.

4. Locate the image you want to use and click on the blue Choose button.
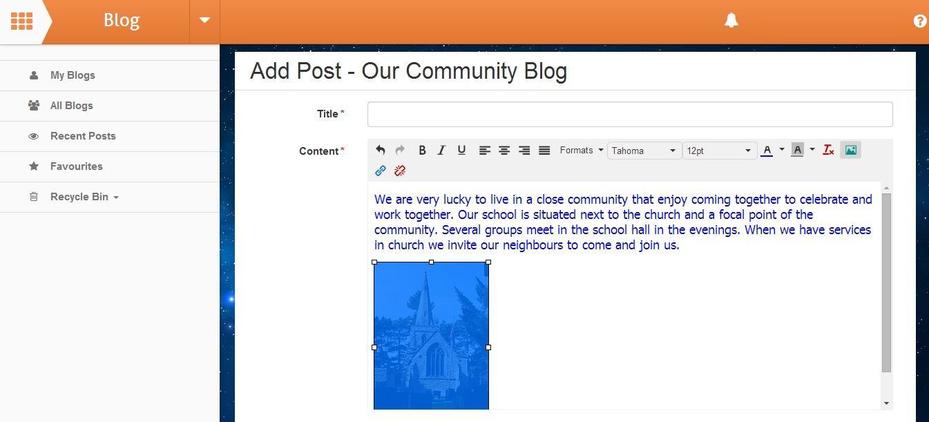
5. You will be returned to the Insert/Edit Image window. You can set a size for the image here or amend the size once you can see the image in the blog post.

6. You can now see the image in your blog post. It will be highlighted and you can amend the size by dragging the image from one of the corners to keep the proportions correct.
7. You can also add links to websites and files in your blog post. Highlight the text or image that you want to be the link and then click on the Insert/Edit Link icon on the text processing toolbar.
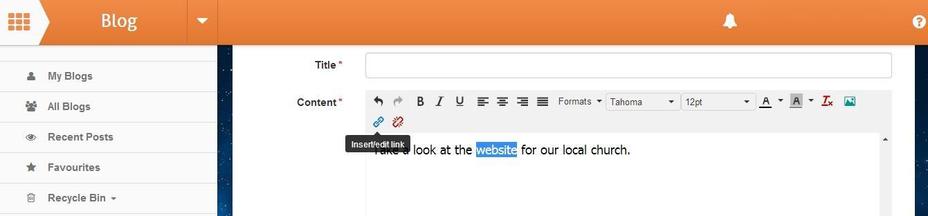
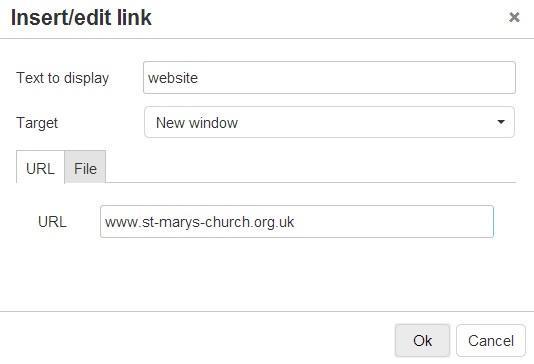
8. The Insert/Edit Link window will open, we recommend setting Target to New Window, so that when the website or document is closed the reader will be returned to your blog post.
8a. For a weblink add the URL of the website you want to link to, you can type it or paste it in.
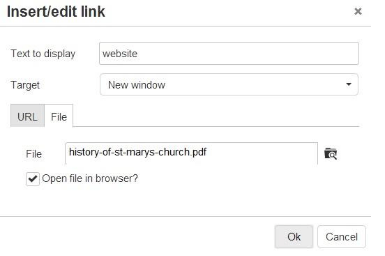
8b. For a file link, click on the File tab. Then click on the browse icon on the right of the File field to open your files app.

8c. Locate the image you want to use and click on the blue Choose button.

8d. You will be returned to the Insert/Edit Link window. We recommend that you put a tick in the Open file in browser? field. Many people now use tablets and phone to view the internet, so to have the file open rather than download with mak their viewing much easier.
8e. Click on the OK button to save the link details. The text that was highlighted when you clicked the Insert/Edit Link icon will change colour to indicate it is a link. No change will be made to an image that is a link.

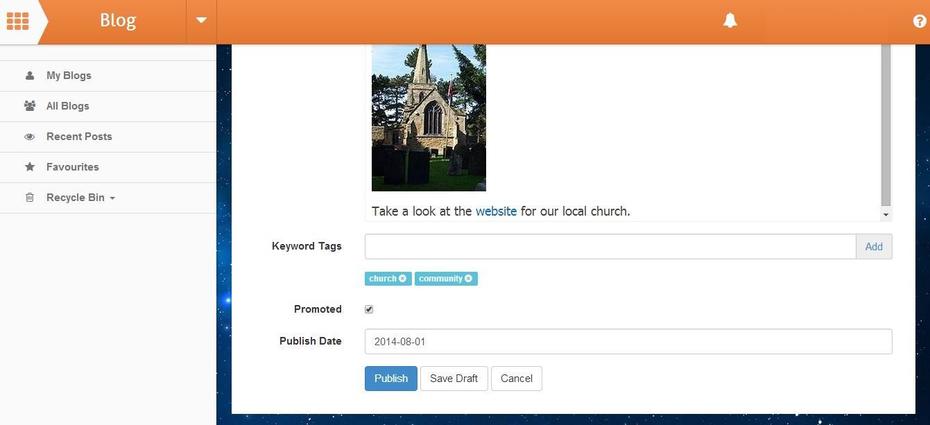
9. It is useful to enter keywords to a blog post, making searching for blog posts easier and for grouping posts together. If you put a tick in the Promoted field this post will appear on the homepage for the blog and is easier to access than searching through all the posts for the blog. Enter the date you want the blog post to be published on.
You can Save Draft which will allow you to come back and finish it later. You’ll see it’s a draft on the blog screen in two places. Next to the post, and in the archive list on the right.
10. When ready, click on the blue Publish button to complete the post.
11. The blog post will appear on your screen. You can see all of the blog posts here and the keywords and archive for the blog. Below that any blog posts that have been promoted will appear here as a hyperlink for viewers to read instantly.
